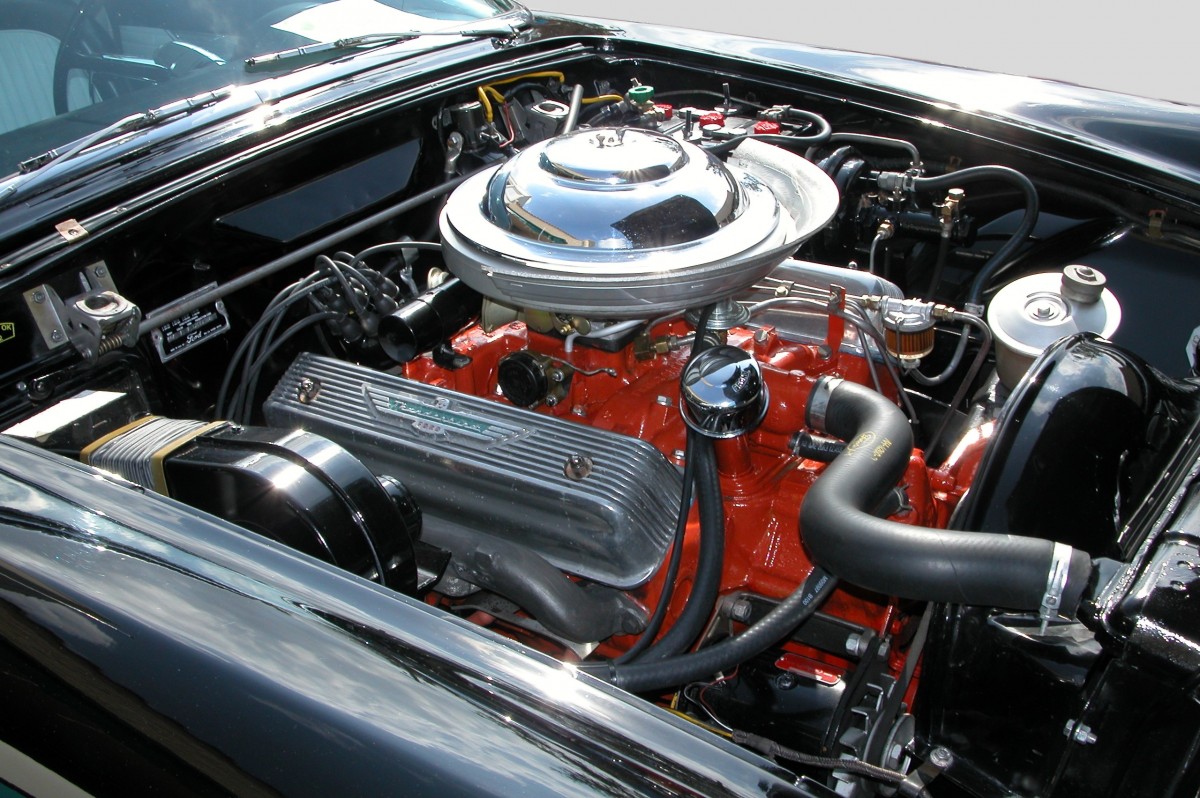
Whether you’re looking to restore your motor, or to modify it for optimum horsepower, there are numerous cases where having the engine rebuilt is better than a repair. The task of rebuilding a car engine might appear challenging and daunting, but you can still accomplish it by following the right steps.
Gather the Right Tools
If you want to rebuild an engine, you will need the right tools for the job. You’ll require engine hoists for pulling the current engine out and load leveling bars to keep the weight evenly distributed during removal.
Other necessary items include an engine stand, air compressor, brass punch, electric drill, engine assembly lube, blow gun and air hose, camshaft bearing tool, engine rebuild kit, and Service Manual.
Don’t forget to get a cylinder bore honing tool and ridge trimmer, torch, jack stands, permanent marker, masking tape, fender covers, water displacement lubricant, piston ring compressor, silicone gasket maker, and a torque wrench.
Get a couple of plastic bags and boxes to keep your hardware and parts too. Having rod journal protectors, timing gear puller, wheel chocks, and basic hand tools set is also important for the rebuilding work.
If your engine has gathered many miles, some internal components may be worn and require replacement.
Inside the motor, typical wear culprits are pistons, bearings, and piston rings, pin bushings, and wrist pins. You can machine the crankshafts or simply replace them if they’re completely damaged.
Looking for a professional in San Antonio to help you decide on what tools you need can be tricky. However, there are some tools that you need to have. If you are modifying your current cylinder head, you will require other intake and exhaust valves, springs, rockers, pushrods, rockers, and bolts. A diesel mechanic in San Antonio advises that using the right tools will help you maintain your car in an excellent state. Some cylinder heads come complete with associated valves and camshafts inside.
Extract the Engine
Before you start to disconnect any part, it helps to take photos first to make the reassembly process easier. Follow these steps to remove the engine successfully:
- Place the car near the hoist. You will require a large, properly-lit, and level garage with enough space to place your hoist and move around.
- Pull out the hood: Use the permanent marker to label the hinge bolts, so that you don’t struggle to locate them later. Unbolt carefully and have someone help you with sliding the hood off
- Unfasten external engine parts. The first step is to detach the battery’s ground cable for safety reasons. After that, unload the coolant and radiator hoses. Finally, extract the radiator and fan shroud
- Disconnect the belts, tension assembly, alternator, cooling fan, intake air supply, and fuel lines. If your car uses a pressurized fuel system, be ready to drain the fuel and alleviate pressure before detaching the fuel lines
- Take out all electrical connections to the engine. Remove the exhaust manifold and discernible electrical links to the transmission
- Extract the bolts between the transmission’s bell housing and the motor. Jack up the vehicle and place it on jack stands. Next, use other jack stands to hold up the transmission from below. Once the transmission is well-supported, remove the bolts
- Use the hoist to extract the engine. Attach the hoist to the pulling areas on the cylinder heads and tune the leveler steadily to begin raising the front
Disassemble the Engine
Take a look at the engine manufacturer’s instructions manual to know all the proper specifications required for the engine rebuild. Then, take time to inspect your engine, checking for wear and tear
After reading the manufacturer’s instructions and inspecting the engine’s components, start to disassemble the engine. Begin by extracting the oil pan, valve covers, and cylinder heads.
Inspect the cylinder bores for wear, and use a micrometer to measure the bore diameter. If the wear is below 0.002 inches, you can reuse the pistons, otherwise, replace them. After inspection, use a cylinder to detach the ridge on the cylinders close to the upper part of the bore.
The next step is very critical. It’s time to extract the pistons. Begin by removing the rod caps and note their orientation. Next, remove the piston and return the rod caps to their connecting rods.
Take the crank mounting plates and use them to extract the crankshaft. Next, separate the main bearings from the engine and take note of their position.
Complete the disassembly by removing everything else still connected to the exterior of the block, including core plugs and guide pins.
Dismantle the Cylinder Head
Compress the valve spring using a valve spring compressor and take out the keepers using a tiny screwdriver. Release the valve spring’s pressure, so that you can extract the valves, springs, and spring shims.Finally, remove the sensors attached to the cylinder head to finish the engine disassembly process. Once the engine is disassembled, you can take it to the machine shop for professional rebuilding.


