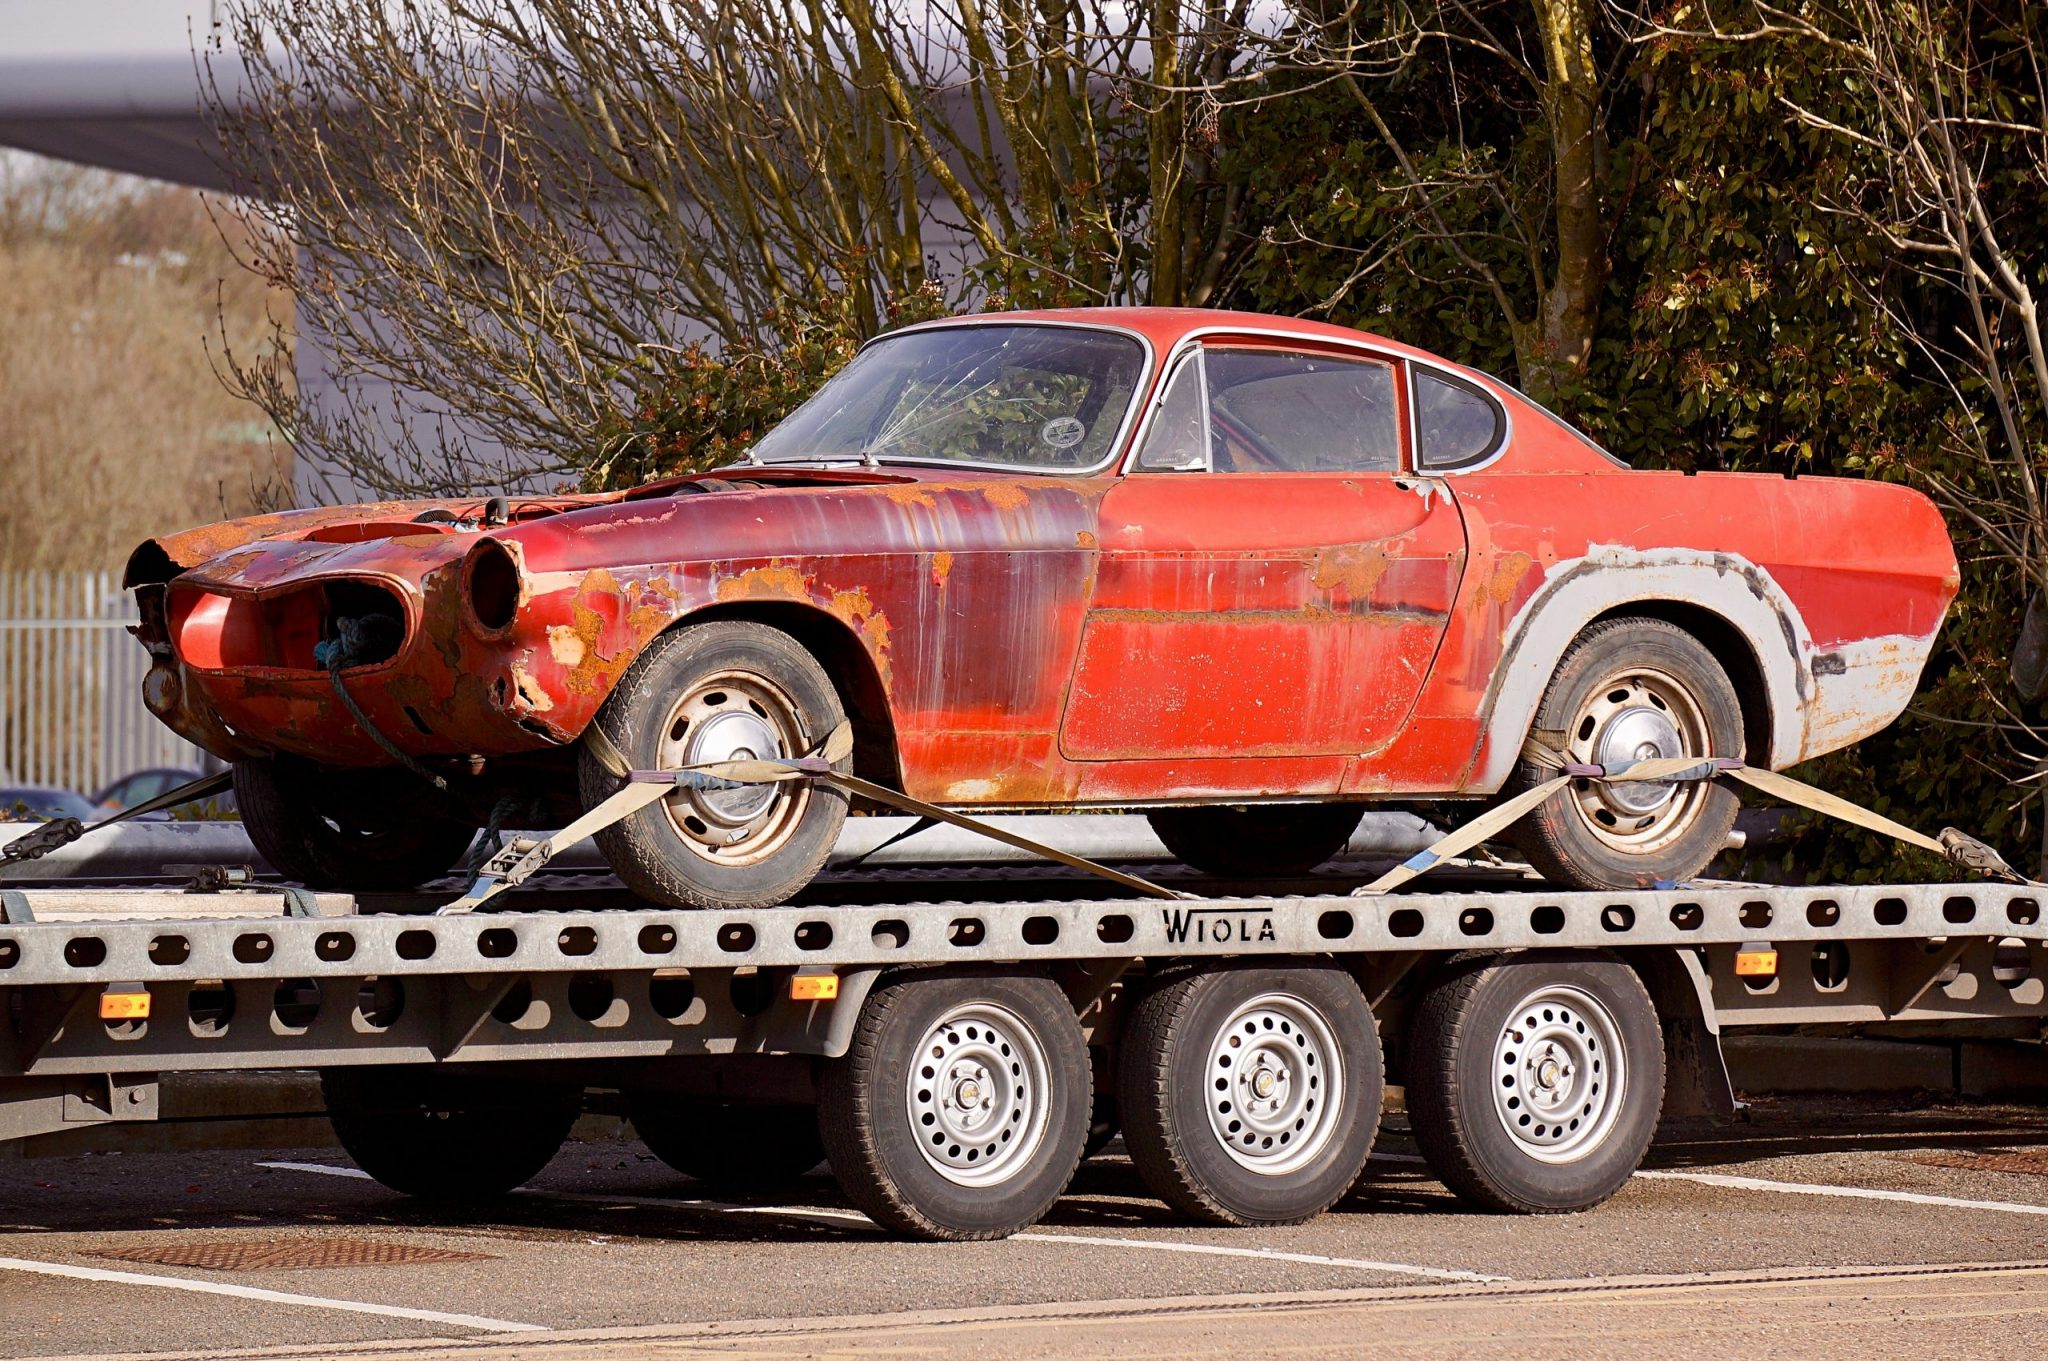
Your car may need minor touch-ups more often than you think because even the best drivers may have bumps and skids to deal with. Adverse weather conditions can also cause minor scratches and chipped paint here and there. A professional job may not be required every time as the effort and money may not be worth it when you can easily handle it with a DIY job. Still, you have to do it well enough so that the imperfections are covered flawlessly. Here are some handy tips that can help you manage your car’s touch-up job like a pro.
Buy the right paint color
This one is a no-brainer as you will get the desired results only if you use the color that is a perfect match with the existing one. Start by looking for the color code of the vehicle, and the search gets simpler. Moreover, there isn’t a chance of an error in picking the right shade when you do it by number. While you may find it somewhere on the body of the vehicle, the other option is to check online by entering the make, model and other details.
Prep up the touch-up area
Once you have the color, you will need to prep up the area to be worked on. You don’t have to do much. Wash the vehicle thoroughly to remove dirt and expose the tiniest of scratches and flaws on the surface. Dry it completely and look for rust as well. It is vital to remove the rust first before going ahead with the paint job. You can do it easily with the help of sandpaper.
Apply primer sparingly
You cannot expect good results by applying the paint straightway on the damaged areas. A coat of car paint primer gives you a surface to work on, but you need to do it with care. The best way to apply it is with the help of a tiny brush or matchstick. Precision is the key because you should not get it on the original paint. If it happens accidentally, wipe it off quickly. Once applied, let the primer dry thoroughly.
Touch up with paint
After the primer dries up, you can go ahead with the final step and apply the paint over the scratches and spots. Cover the affected area completely, working inward from the edges. For very small areas, it is best to touch up with a small brush or a matchstick like in the case of primer application. Make sure that the paint is not thicker than the surrounding area, or it will end up being prominent. It may even run, bubble or peel off eventually. Give the paint ample time to dry up. At least 24 hours will be an optimal gap before you take the car out, though you may wait even longer.
A touch-up seems like a small job, but it requires a lot of patience and precision to be done perfectly. You can save time and money with DIY, but you should only do it if you are confident enough.


