Prototyping a printed circuit board (PCB) for your product is an essential step in the development process. It’s also one of the most complex tasks you can undertake. From designing and laying out components to soldering and testing, there are many steps involved and each must be done correctly for the PCB to work as intended. Fortunately, with some preparation, knowledge, and practice, you can successfully prototype a PCB that meets your needs. In this guide, we will walk you through all of the steps necessary to create a functioning PCB for your product. We’ll cover everything from design basics to troubleshooting tips so that by the end of this guide you will have created your own successful prototype!
Understanding the Process and Benefits
Before diving into the specifics of PCB prototyping, it’s important to understand why such a process is necessary and what benefits can be gained. By prototyping your PCB, you will gain valuable insight into its functionality. For instance, if there are any design flaws or potential issues with components or connections, they can be identified before committing to mass production. Additionally, the process of prototyping also allows for the testing and verification of your PCB design on a limited scale before larger investments are made. Finally, prototyping can provide an opportunity to identify any potential adjustments that may need to be made to the design based on actual performance observations.
Outlining the Specifications for Your PCB Prototype
The first step in the prototyping process is to outline the specifications for your PCB prototype. This includes considering things such as component placement, electrical requirements, and other important factors that will impact the design of the board. It’s also important to factor in any potential adjustment needs that may arise during testing.
In addition, it’s a good idea to keep in mind any potential difficulties that may arise during the prototyping process itself. For instance, some components may require specialized tools or accessories that you need to have on hand before starting the project. By considering all of these factors beforehand, you can create a plan for the project that will help ensure its successful completion.
Getting Assembly Quotes from Different Companies
Once you have outlined the specifications for your PCB prototype, it’s time to get quotes from different assembly companies. There are a number of established and reputable companies that offer quality prototyping services so make sure to compare prices and services offered before making a decision. When looking for PCB Assembly Quotes, make sure to ask for a breakdown of the cost associated with each step of the process so that there are no hidden surprises. When you have selected a company to work with, they will provide you with a custom quote for your project so you can accurately budget for the prototyping costs.
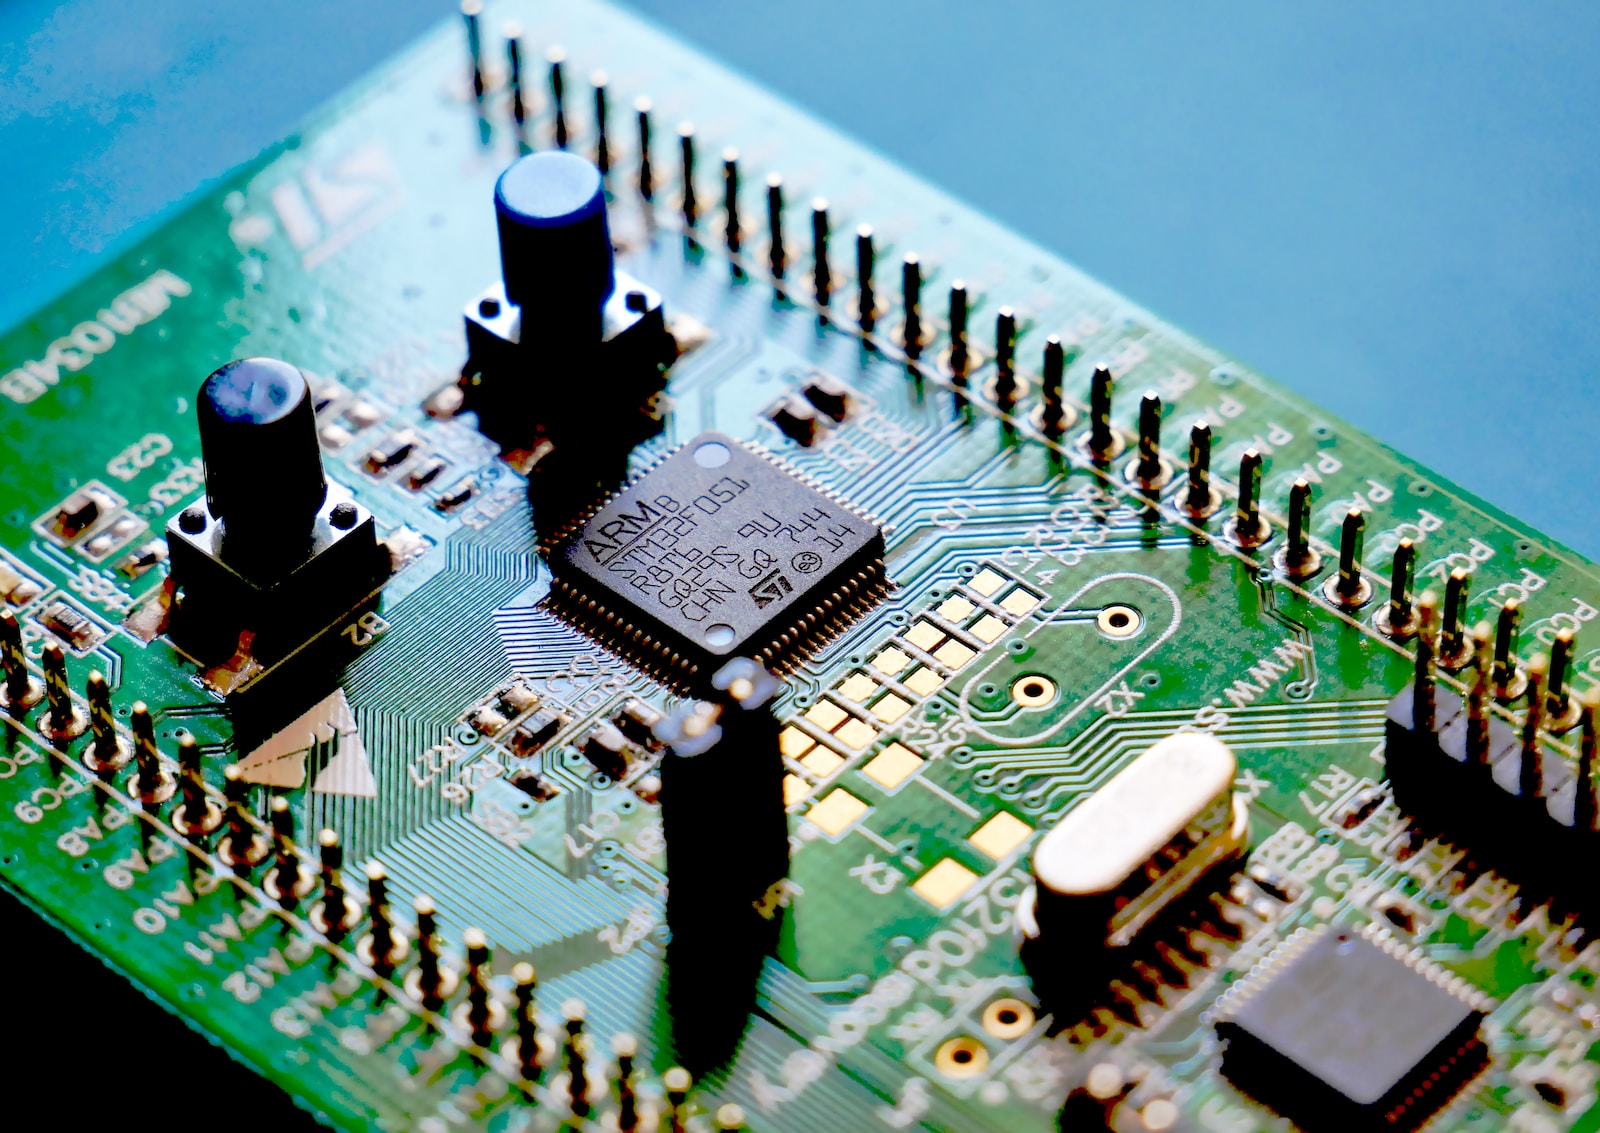
Designing and Laying Out Components
This step involves creating a schematic of the different components that will be included on the board. It is important to ensure that all components are properly sized and spaced so that they can fit and be connected properly. Additionally, you should pay special attention to any power or signal requirements, as well as any potential interference considerations that may arise. If you want to add any additional components or features to the board, you should make sure that these are included in your design as well.
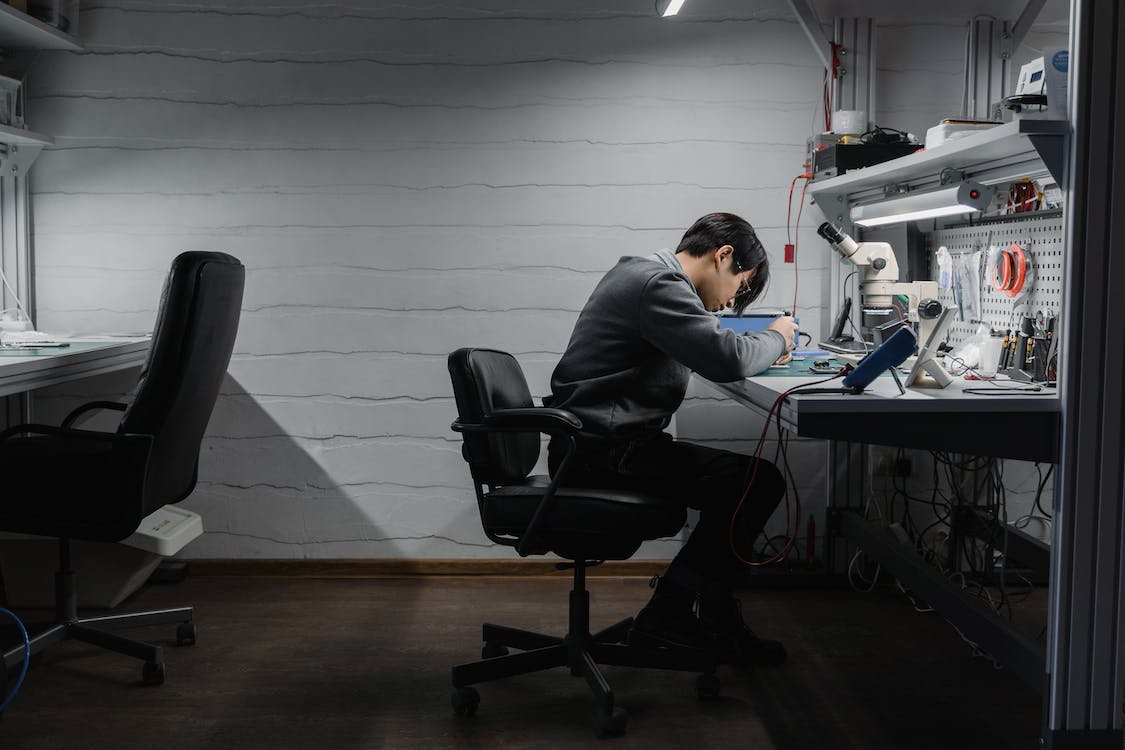
Soldering and Testing the PCB Prototype
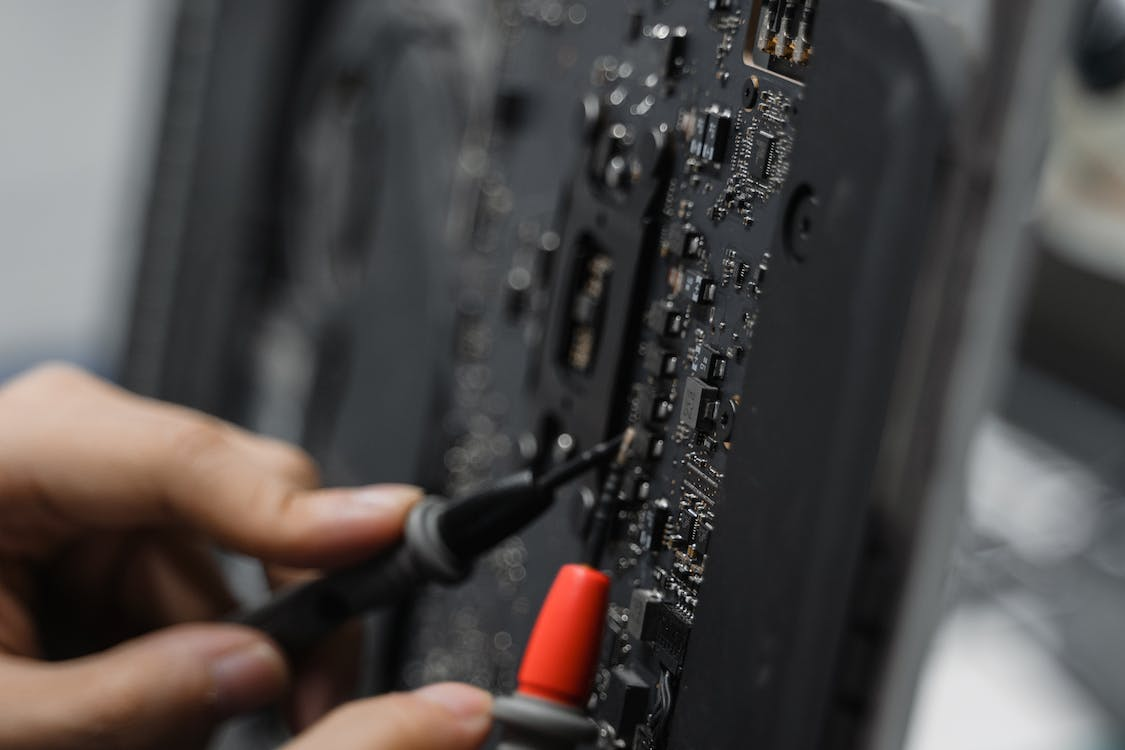
Trying to solder all the components onto a PCB can be a difficult task. Therefore, it’s important to exercise caution and patience when soldering components for your prototype. Be sure that you use the right type of solder and take care not to create any shorts or damage any connections as you go.
Once all of the components are connected, it is time to test the PCB prototype. This process typically involves powering up the board and testing it with various inputs to observe how it functions. If any issues arise, they can be addressed at this point by making adjustments or replacing components as needed.
Creating the Circuit Diagram for Your PCB
Once the PCB has been successfully tested, it’s time to create a circuit diagram for it. This is an essential step in the prototyping process as it helps document all of the components and connections that comprise your PCB. Creating a circuit diagram can help you quickly detect any problems or necessary modifications for future reference. Once this step is done, your PCB prototype can proceed to the next stage of the development process.
Placing and Routing Components on the Board
A lot of the work that goes into prototyping a PCB involves placing and routing components on the board. Doing this part ensures that all of the components are properly connected and functioning correctly. Make sure to consider any possible obstructions or clearance problems while arranging and connecting components. Also, be cautious about the orientation of the components to prevent any unintended short circuits. You want to make sure that your board is properly arranged and connected before you proceed.
Inspecting the Final Prototype
After finishing the assembly and wiring of your PCB prototype, it’s important to inspect all parts for any defects or flaws. This is especially important when testing more complex circuits as any mistakes can drastically affect performance. As such, you should take the time to thoroughly examine every part of the board before moving on to the next stage.
On the other hand, try not to become too obsessed with perfection. Sometimes small flaws or mistakes are inevitable and shouldn’t be considered a major issue and your board can still be functional.
Creating a Final Product Prototype
To complete the prototyping process, you need to make a final product prototype. This involves including the assembled PCB prototype in the overall design, such as adding a housing, mounting brackets, or necessary components as per your product design. To ensure proper functioning, it’s crucial to ensure compatibility between the PCB and all its parts, as well as easy connectivity. Additionally, verifying that it fits perfectly in the desired location is important.
Creating a PCB prototype is an important step in the product development process as it allows you to test and verify your design on a limited scale before committing to full production. With careful planning, attention to detail, and patience during assembly, prototyping can be used to identify any potential issues or adjustments that need to be made prior to manufacturing. By following the steps outlined above, you should have no problem creating a final product prototype for your own project. The key takeaway here is that by properly preparing beforehand and taking precautions throughout each stage of the process, you will save time and money while ensuring quality results with every finished PCB prototype.