Welcome to Part 7 of our grand FactoryTwoFour Porsche Backdate Build!
Every month we're going to update you on the broken bolts and knuckles of
this project as we turn our Miami Vice 80's Porsche into a unicorn 1972
RS 2.7.If you're just joining us, you can catch upon the series here.
As the project comes to a close we are re-running all the past updates so
you can stay up to speed.
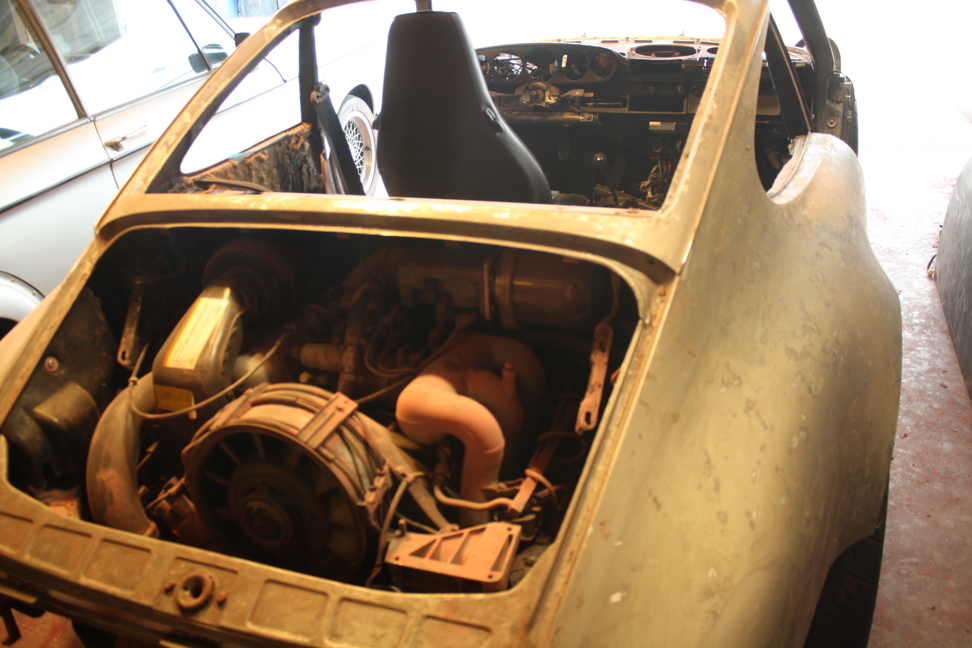
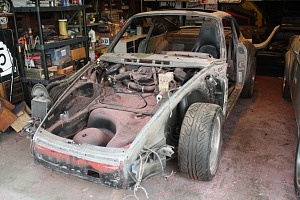
Although Channing Tatum makes it look easy, stripping is actually hard work. With the panel fitting done on our Porsche backdate, it was time to strip all the paint off the ’88 Carrera and get back to beautiful steel. I knew this would be an annoying and tedious job. I didn’t know just how taxing it would prove to be.
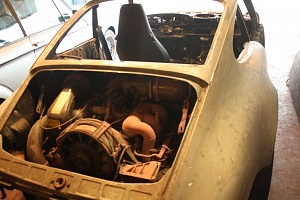
This car was originally delivered from the factory in a beautiful black; then sometime in the 90’s some wahoo decided to ditch the class and go for a cherry bomb red instead. To be clear, this was not guards red or any other Porsche red. This was just some off-the-shelf red. Also of note, several women commented on how the paint was “glittery,” and until then I had never realized that men love glitter too – we just call it metal flake because it sounds more hardcore. It’s still glitter. Any-who, the red had to go. But because I’m being overly anal about this car, I wanted to find a way to retain the galvanization that was applied to the whole shell in the factory.
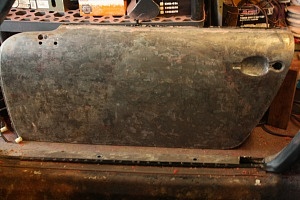
In 1977, Porsche began galvanized all 911 bodies completely to prevent rust. This was a major innovation for the time, and one that means a 70% of all 911s ever produced are still on road. I wasn’t eager to loose this longevity-boosting protective plating from my project car, so I had to strip off the paint the hard way. Normally, you would just sand or media blast the entire car down to bare metal, but these abrasive techniques would have also scraped off the thin layer of zinc that stops rust from forming on the bare metal. Thus I was stuck with using messy, time consuming, and noxious paint stripper.
All the available strippers I tried were seriously nasty. They reek of ammonia and eat through work gloves like they are made of chimichangas. To work with this stuff requires a couple layers of gloves, including fabric on the outer layer, and breathing protection. Without the latter, you’ll find yourself with a case of sniffles for hours and without gloves you’ll quickly realize how aggressive this chemical concoction is. It immediately starts burning when it touches your skin, and should you choose to ignore that obvious alarm bell for several minutes you’ll find that your skin will bubble up just like the paint on the body is, turn hard like a callous, and eventually burst hours later. It then hurts for days – ask me how I know. Seriously, wear protection.
Counter-intuitively, Aircraft Stripper is the kind you want to buy. It is easily the most effective with the least set up time. Scuff up your paint with some kind of sanding pad and apply the stripper. Wait 15-30 minutes and scrape off with a plastic scrapper and you should be down to bare metal. Because I had two layers of paint (plus primer), and because whoever did the red paint job decided to go crazy with the thickness, it took me several passes on every panel to get down to metal. I spent, no joke, about 2 months stripping the paint off during nights and weekends. Sanding or media blasting would have been so much faster and easier – but now I’m done and my zinc layer is still intact and ready to protect my metal from any rock chips or scrapes.
There’s a certain Mad Max quality to the car right now, and I wish it wasn’t disassembled so I could take it out around town a little bit to enjoy it’s naked splendor. I’ll be sure to sneak in a quick blast around the block just to drive it with no paint, no doors, no glass, and no interior. Hopefully video of that soon…


If you would like to follow the nitty gritty details of this build, they are
posted on a Porsche technical forum here.