
Many homes in the US use what’s called heating oil tanks to face the cold winter season. If you’re located in states such as New Jersey, it’s likely that you’re using one as well. To maximize your heating oil tank, you have to know how to take care of it.
Maintenance for your heating oil tank may be best left to the experts, but that doesn’t mean you should keep yourself in the dark about it. A bit of knowledge can go a long way in detecting issues way before they worsen. Read on for our guide filled with top tips from the professionals:
Early Warning Signs
To begin, you need to learn how to check for common problems with your heating oil tank:
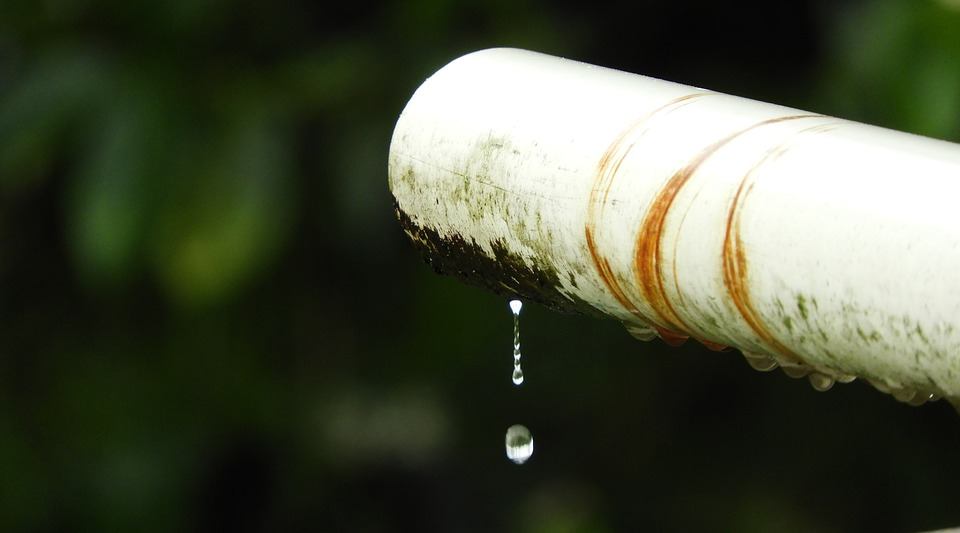
1. Leaks
Leaks from your oil tank come in the form of residual rust or oil trails if you don’t find the leakage itself. Don’t limit your search to the tank; check your valves, fuel lines, and vents to be thorough. Any part of the oil tank system is liable to get leaks.
Checking for damages can be difficult if your oil tank is underground. However, this does not mean that you should skip regular checking. You can inspect the site above the location of the underground oil tank to check for similar symptoms.
2. Support
Next, you want to check the legs of the oil tank and the area that they’re situated on. The legs can be subject to rust or cracks, which can make things dangerous in case they give way. Moreover, if the tank is above ground, the floor that it’s standing on should be sturdy enough. The best examples include concrete or hard, compact earth.
Caring for Your Oil Tank
Apart from what we’ve mentioned already, keep an eye out for other types of damage to your oil tank. You can usually notice them if you see any rust or oil stains appearing. At this point, you may think that your oil tank requires a lot of care, but this is mostly to prevent sudden inconveniences. No one wants to bear the cold because of a faulty heating oil tank.
You can always rely on help from others. The experts at simpletankservices.com know that not a lot of protection is provided for oil tanks. In general, so much of the know-how is just passed around the community. We’ve mentioned earlier in the article that professionals best do cleaning and repairs, but we’ll let you in on what’s involved when they clean your tank.
Why Do Heating Oil Tanks Get Dirty?
Before we go into detail about how to clean, you need to understand the nature of what is making the tank dirty. Simply put, sludge is what accumulates after a period of time. It clogs the lines and the filters, preventing the smooth flow of the oil.
The sludge forms from the condensation when the oil is at a different temperature from the tank itself. This is likely to happen after you get your tank refilled. The next time you get your refill, you can ask the technician if they noticed any sludge formation.
How Often Should Oil Tanks Be Cleaned?
The professionals recommend scheduling oil tank cleaning every three years. Though you can get away with putting it off for a few more years, it all depends on how often you use it. Your technician can help give a better estimate since he is more familiar with dealing with your oil tank.
Another piece of advice is to not let the oil levels get too low. This can prevent sludge from spreading to the supply lines and the filters. It is also best not to let any foreign substances enter the vents and filters like outside moisture or air.
How Does Oil Tank Cleaning Go?
Your technician will likely bring his own equipment when cleaning your oil tank. If you plan to do it yourself, you will need materials similar to said equipment:
- Disposable containers
- Cleaning rags
- Water hose
- Air hose
- Portable air pump
- TSP cleaner
- Denatured alcohol
- Protective equipment
Firstly, the tank needs to be drained of residual oil. The drain valve is used for this, and the excess oil is drained into a container. The plastic, disposable kind is best for this. Afterward, set the container aside where it won’t be spilled.
You will then need another container to place under the drain valve again. Spray the inside of the tank with water. The new container is there so that it can catch the oily water that will come out. Keep spraying until the liquid that comes out becomes clear.
The second step is when the actual cleaning happens. The tank is to be filled up with water mixed with TSP cleaner. The air hose is used to pump the solution in and around the tank system for about 12 hours. This is then drained through the valve once again. Clean off the residues by spraying more water inside the tank.
The last part is simply about drying the tank. Oil and water don’t mix so to get the tank in optimum shape, you’ll need to get rid of the excess moisture. This is where the denatured alcohol comes in. It is poured into the tank, making sure it coats as many parts as it can with the help of the air hose. This will only take about an hour. Now, you’ve got a fully cleaned tank!
Your heating oil tank can serve you well as long as you know how to take care of them. While it’s definitely more convenient to leave it all to the experts, you should still know what goes on when they refill and clean out your tank. Cooperating with them can save both you and your technician a lot of trouble when you get to detect issues early on. Taking care of that oil tank doesn’t have to be a complicated process once you’ve learned what’s involved.