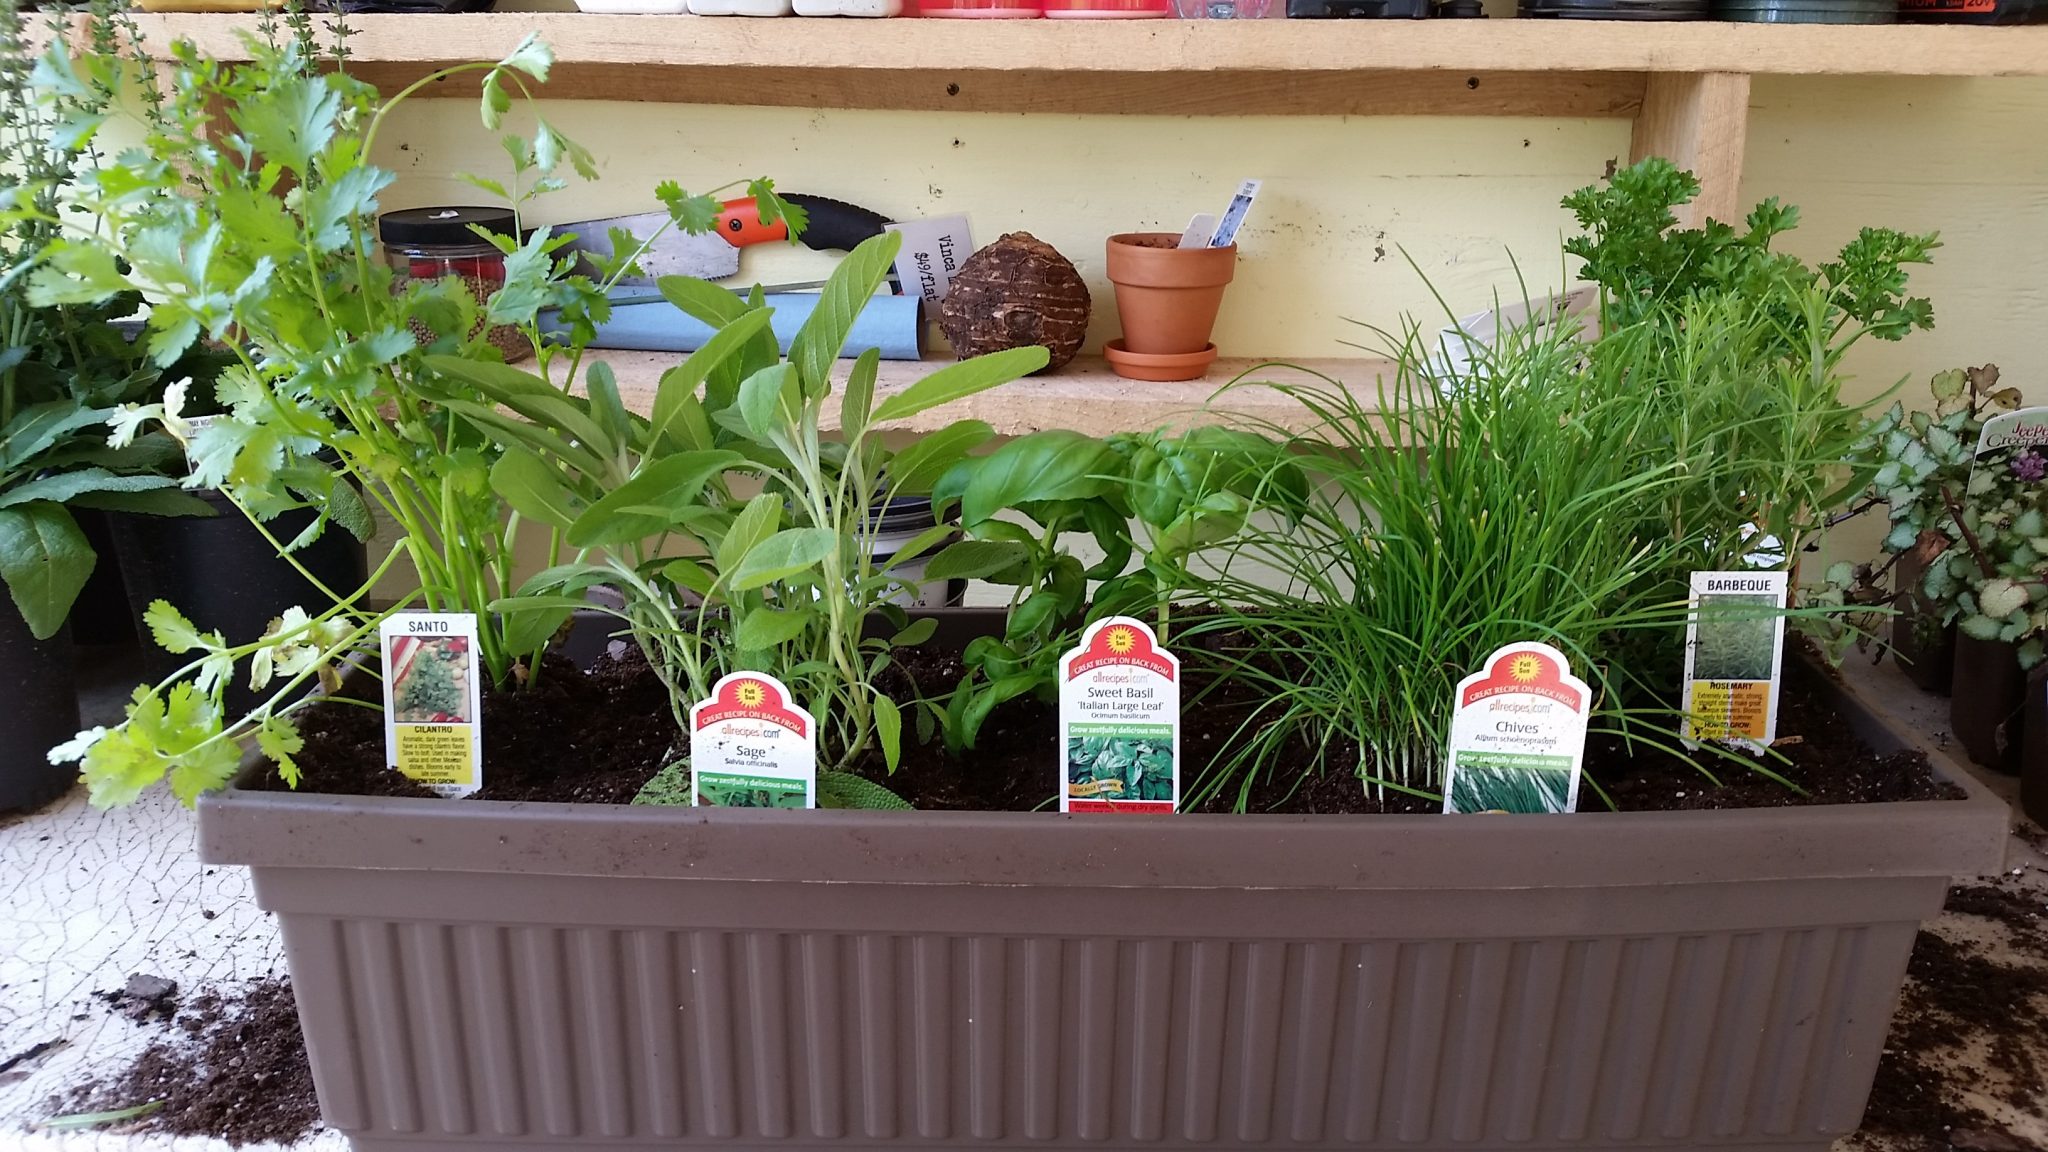
If variety is the spice of life, then this do-it-yourself herb garden window box has variety and spice to spare. It’s my goal to get your hands dirty. No, I don’t need help burying bodies (that’s the subject of my next article, stay tuned!), but I do want you to dip your toes into the world of gardening with a short and simple project; planting and tending to an herb garden.
It only takes a few minutes to get everything planted, and requires minimal watering. There’s enough flavor in the following project to add some homegrown love to any meal, and it can grow wherever there is sunlight. This portable garden can be thrown on a patio, a balcony overhang, or even inside a kitchen window, and it works as a thoughtful and eagerly received gift.
With this guide you’ll learn how to construct the miniature garden, and how to maintain and harvest the herbs inside of it.
Keep in mind that this project can be customized; the size of the window box can be increased to fit many herbs and other vegetables, or minimized to hold a single plant of your choice, but the basics are all here.
Let’s get started.
You’ll need a handful of supplies:
- A container to grow the plants in. Any garden center or home improvement store sells these containers for less than $20.00. Make sure it has drainage holes! Be mindful of the weight of the container and where it is being placed. If you’re hanging the container from a railing or balcony, consider purchasing brackets to hold it securely in place.
- The plants you want to grow. This project uses cilantro, basil, rosemary, sage, and chives. These can also be purchased at any garden center for about $3-5 each. They can be found growing in either a plastic cup or a biodegradable container. Either option is okay!
- Potting mix. For this project, you need to use a soil that is designed to be lightweight and provide good drainage. Any bags that say “Potting Mix” or “Container Mix” should work well. When in doubt, ask an employee at the store or search the internet.
- Your own two hands. The soil used for container plants is usually sterile and clean, and the plants are similarly safe to handle with bare hands. A pair of gardening gloves could be purchased if going bare handed isn’t for you.
- Water. This could be as simple as a glass from your kitchen, or you could buy a small watering can.
- Optional: Fertilizer. Fertilizers help to produce healthy plants. Organic fertilizers work best. I use Espoma Garden Tone for my herbs and vegetables.
- Optional: Mulch. Mulch is a great addition to an herb window box because it helps the plants to conserve water and helps eliminate weeds from sprouting up. Unfortunately you can typically only buy mulch in large bags.
- Optional: Trowel. A trowel makes scooping easier, but it can only scoop about the equivalent of a handful of soil.
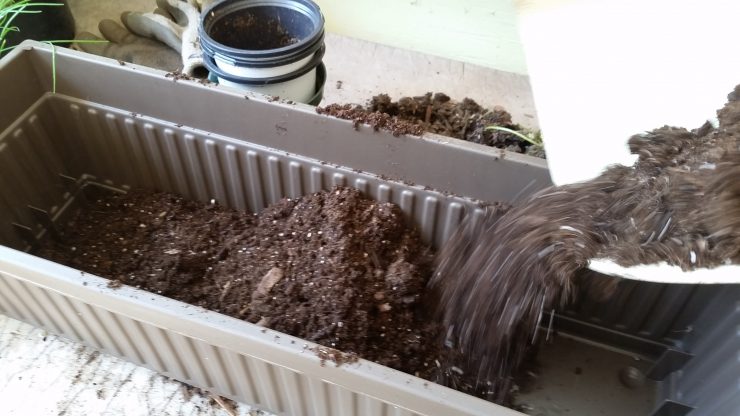
Step 1 – Fill up the container with potting mix.
To make for an easy clean-up, place a garbage bag or newspaper underneath the container. Most containers have a lip on the inside that designates where the top of the soil level should be, about an inch below the top of the container. Don’t fill the mix higher than that line!
Step 2 – Prep your plants.
This is the fun part. Herbs will be available in one of two containers: a plastic cup, or a biodegradable pot.
If you purchased a plant inside of the biodegradable container, simply rip or cut off the bottom of the container and place it into the soil.
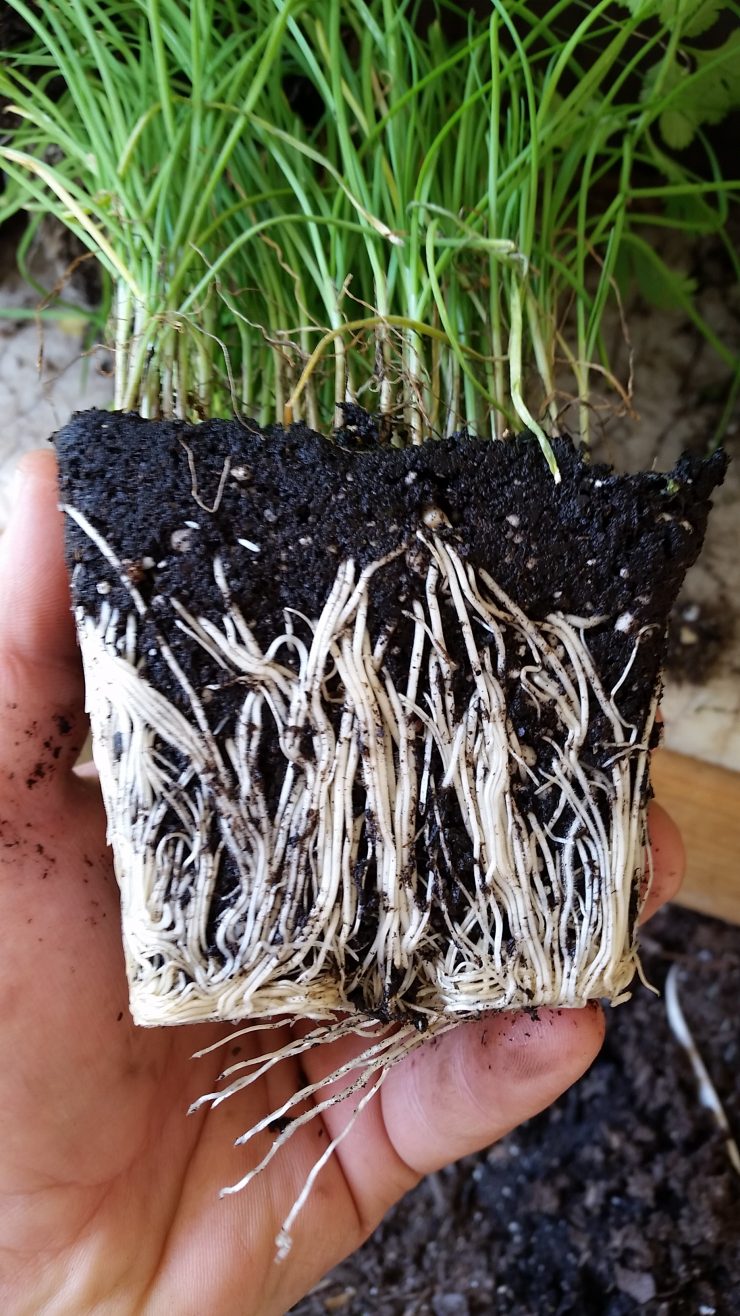
If you purchased plants inside of plastic pots, carefully remove them (hold the plant upside down and slide the container off). Plants grown in these containers are likely to be root bound, like the picture to the left.
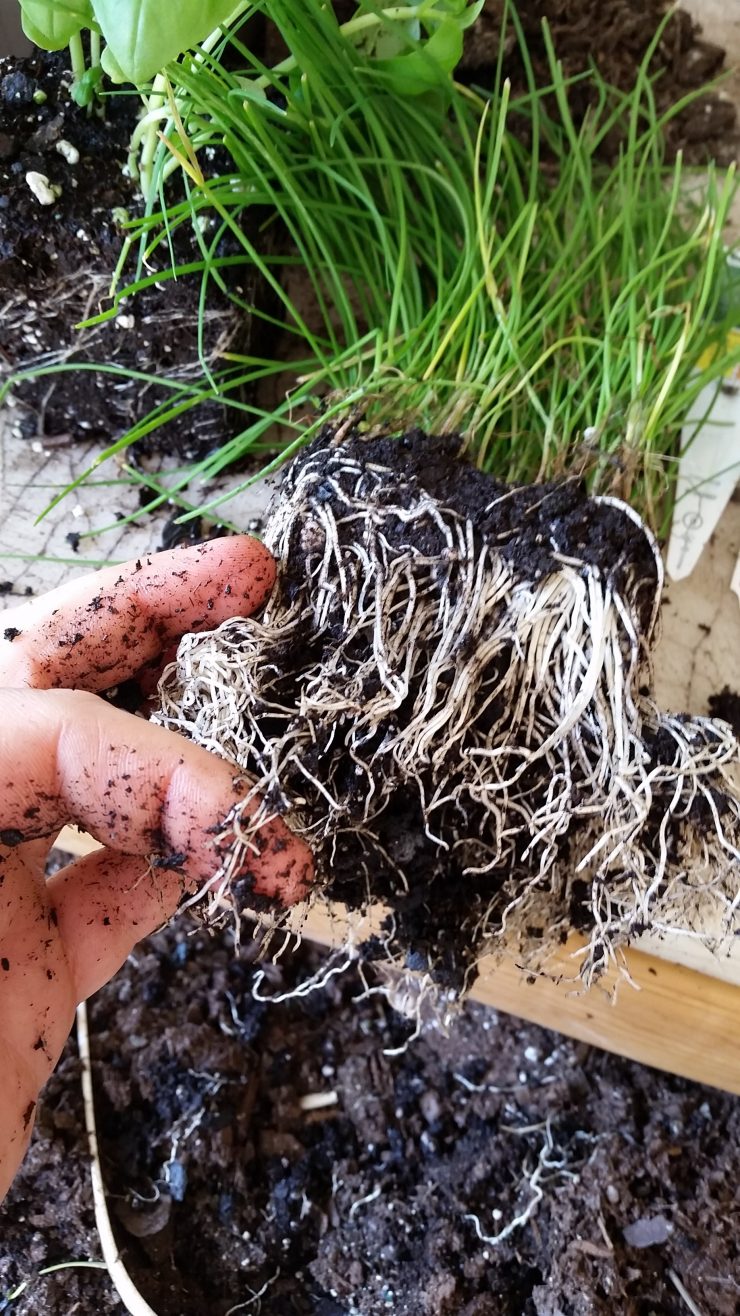
To ensure the plant grows well, you’ll need to rake apart the roots. Don’t be afraid of hurting the plant! Working your fingers into the soil and between the roots, separate the roots gently as if they were knotted together. It should look like the picture to the right.
Like people, roots can learn bad behavior.If they are left in their tightly coiled state they can effectively choke the plant to death. Break them apart like the image to the right, so the roots are free to grow down.
If the plant is not root bound it is not necessary to loosen it like this!
Step 3 – Get To Plantin’
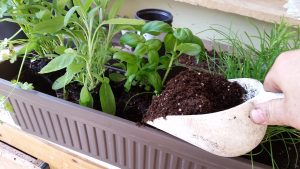
Align the plants inside your container. The only guidelines here are to give the plants a bit of spacing away from each other (an inch or two should do). For this project I staggered the plants so that three plants were in the “back row” and two were in the “front row”. Press the rooted soil of each plant gently and firmly into place. When they’re all in place, carefully fill in any low spots with potting mix. The soil should not be any higher than it was in the plants original container.
It’s easiest to use a hand for this part, but a trowel works too.
Be mindful of the plants here! Try not to break too many leaves and stems.
If you purchased some mulch, now’s a great time to add it to the container. It doesn’t require much, just a light coating. For this window box I used five or six handfuls of mulch.
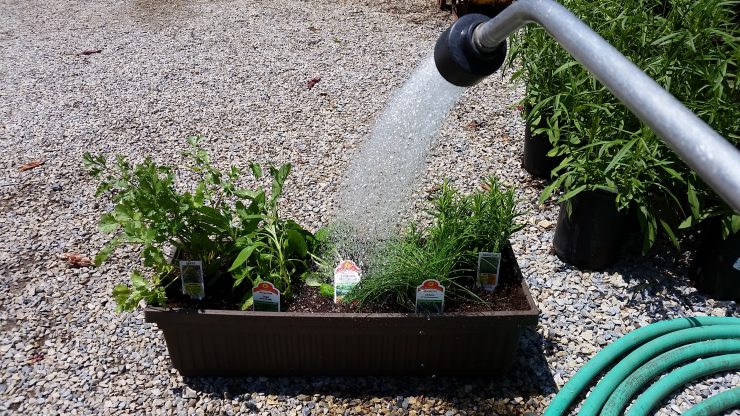
Step 4 – Water!
Drink up, little plants! This is the first time you’ll be watering these little guys. One day at the end of the growing season you’ll look back and remember this first planting wistfully.
Most growing mediums are bone dry, so when watering they bubble up and actually expel water, so take it easy and add a little bit at a time. Chances are that at this stage, you’ll see some of the plants have their lower leaves buried in water and potting mix. Simply lift the leaves out of the mixture and gently remove the bulk of the soil.
Maintenance and Harvesting
Watering is very important, but also very simple. Follow these simple tips:
- The hotter it is, the more these guys will need to get a drink.
- Remember the 3 W’s: Wilting, Weight, and Withdrawing. Plants with leaves that are wilted or with dropping stems probably need a drink. If you pick up the container and it weighs very little, it probably needs a drink. And if the soil is withdrawing from the edges of the container, almost shrinking in size, it definitely needs a drink of water.
- When watering, aim to get most of the water into the soil and not on the plants.
- The water should soak through the soil.
- Watch for water to run out of the drainage holes on the bottom of the container.
As for harvesting the plants, leave some of the leaves and stalks in place for a future harvest. If you notice the plant start to flower, pinch off the flower head right away or it will finish its life cycle and die! Here’s a quick look at what you want to do:
- Basil- Pinch off the leaves, harvesting about one third of the height of the plant. Remove the now bare stem above a pair of leaves. You can harvest again in a few weeks!
- Rosemary- Cut off a few stems and hang to dry.
- Chives- Cut the chives, leaving about half an inch of green at the bottom of the plant. It will grow back within a few weeks.
- Sage- Remove individual leaves, or cut a stem at a time. Allow them to dry before use.
- Cilantro- Harvest individual large leaves or a few stems at a time. Cilantro is best when fresh.

Finishing Up
Pretty fun, huh? Now you can spice up your meals with freshly grown herbs when guests arrive, or present a unique and handmade gift. Most importantly, it got you outside again and into the sun. Probably dirtied up your hands a bit, too. Now that’s a good day.
And chances are, you’ve got some extra potting soil lying around now. Better put it to good use, and start some more planting.