A custom patch is a great way of promoting a club, team, or workplace. When you’re designing your custom patch, there are so many variables to think about to make sure that your patch turns out exactly how you’d hoped it to be. As well as looking the part, you need to think about how the patch will attach, as well as which colours and backing you should use. Choosing to design your own patch may seem daunting with so many things to think about, but it doesn’t have to be! Below, we’ll have a closer look at some of the key details of a custom patch, so you can get the most from your design.
Embroidered Vs. Woven
When designing your custom patch, one of the first things you’ll have to think about is whether you’re going to choose an embroidered or a woven patch. If you’re new to patches, you might not think there’s much difference, however, don’t be fooled! Both patches have a different finish. Embroidered patches end up having a more 3D finish, as they use thicker thread on a twill backing. You can feel the levels of stitching and will be able to see the depth created by the thicker thread.
In comparison, woven patches are a more modern alternative and can be used in the same way that embroidered patches can be. The difference with a woven patch is that the thread is thinner, and therefore means you can add more detail to a woven patch. It will also appear flatter than an embroidered patch with no raised stitching, as well as being lighter and more flexible. If you want a textured patch, you should choose embroidered, if you would prefer a thinner, more detailed patch, woven is the way to go.
Color and Design
Once you’ve chosen the type of patch you’d like for your design, it’s time for the most important part, the color, design, and overall look of your patch! The front of the patch is important for displaying your desired team logo, crest, or symbol, and is the first thing that people will identify you by, so it needs to be perfect! Make sure that you choose contrasting colors, so that your design stands out. Get creative and go bold, make your patch eye-catching!
Being bold with your design is great so that you can be identified with ease, but try not to make it too complicated, simplistic is best and will give you good results. If you do need to add some detail, you can always increase the size of the patch to accommodate.
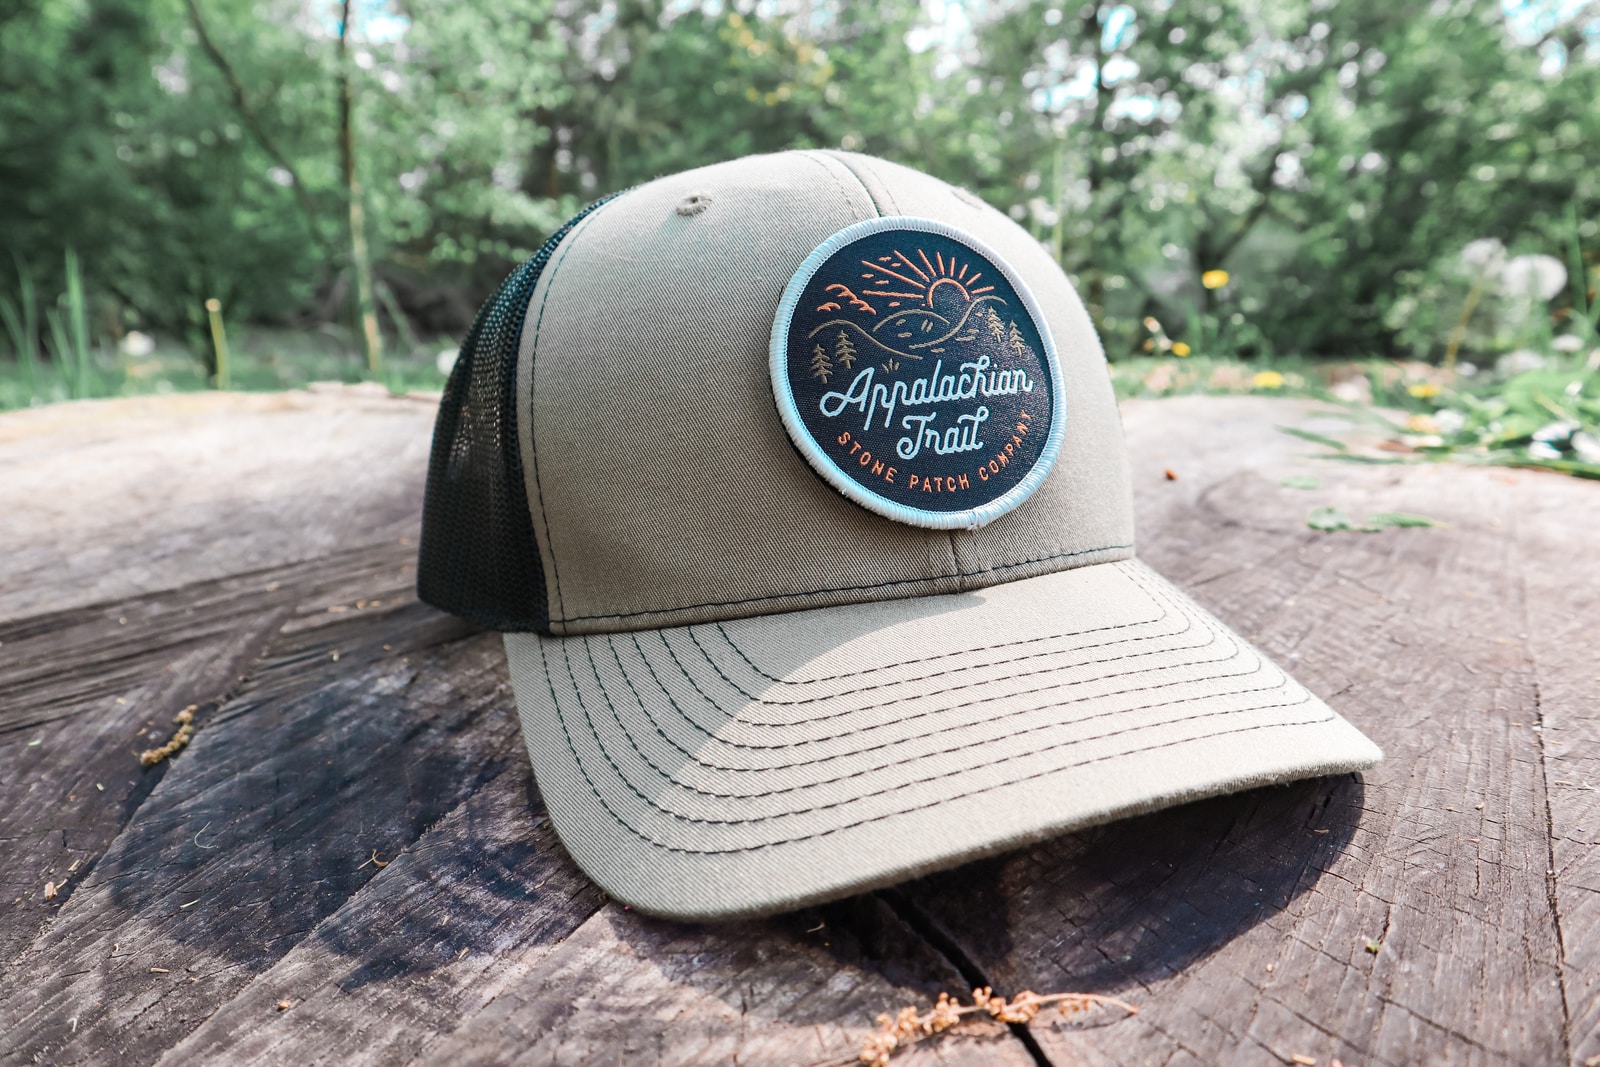
Shape and size
The great thing about custom patches is that it’s not one size fits all. You can choose whatever design, shape, or size you like. Generally, if you’re designing something a little more detailed, larger would be better so that you get the results you require, and so that your design is easy to see. You can choose something that is cut out as the shape of the logo you’re using or choose a shape like your traditional circular patch. The choice is yours! Go big and bold, or smaller and simpler.
Backing
Equally as important as the front of your patch is the backing that you choose. There are four main types of backing, which are as follows:
- Sew-on patches – A permanent and reliable solution, great for uniforms and sports as they can withstand extreme situations
- Iron-on patches – Can be applied with ease but are not a permanent solution, exposure to washing machine temperatures could cause the patch to fall off.
- Stick-on – Great for temporary use and can be used just like a sticker if you’re looking to personalize laptops, cards, or notebooks
- Hook and Loop – this patch is great if you have patches that need to be changed frequently and work well for armed forces and emergency service workers
A good way to choose what kind of backing would suit your patch is to think about what you need to use it for. If it’s for sports, you’ll want to choose something a little more robust, if it’s for customisation, you could choose something as simple and easy as a stick on.